# Deploy a LAMP server
The LAMP stack, comprising Linux, Apache, MySQL, and PHP owes much of its popularity and versatility to its open-source nature.
Linux, the operating system at its core, embodies collaborative development, providing a stable foundation for web servers.
Apache, the iconic web server software, benefits from a community-driven approach, ensuring flexibility and reliability.
MySQL, the relational database management system, democratizes access to robust database technology, thanks to its open-source ethos.
PHP, thrives on community contributions, facilitating dynamic and interactive web experiences.
Together, the LAMP stack exemplifies the power of open-source collaboration, empowering developers worldwide to create scalable, cost-effective web applications that drive the modern internet.
# Introduction
For the sake of this guide we'll focus on a LAMP server that is composed of these four components:
| Name | Description |
|---|---|
| (L) AlmaLinux | The operating system, in this case AlmaLinux 8 |
| Apache 2 | A trusted open-source web server software known for its reliability and scalability. |
| MariaDB | A popular open-source database system for managing structured data efficiently. |
| PHP, php-fpm | A widely-used web scripting language known for its simplicity, flexibility, and strong community. |
# Requirements
- A privileged user (sudoer) or access to the root user.
- RHEL based OS, AlmaLinux 8 or 9.
# First step - install Apache 2
Apache is a project designed to develop and maintain an open source HTTP server for modern operating systems along with high security with efficient resource consumption and meeting HTTP standards. It first appeared in 1995 and since 1996 the most popular web server in the world.
Install Apache 2:
sudo dnf install -y httpdAllow traffic on port 80:
sudo firewall-cmd --add-port=80/tcp --permanent
sudo firewall-cmd --reload
Enable and start apache 2:
sudo systemctl enable httpd
sudo systemctl start httpd
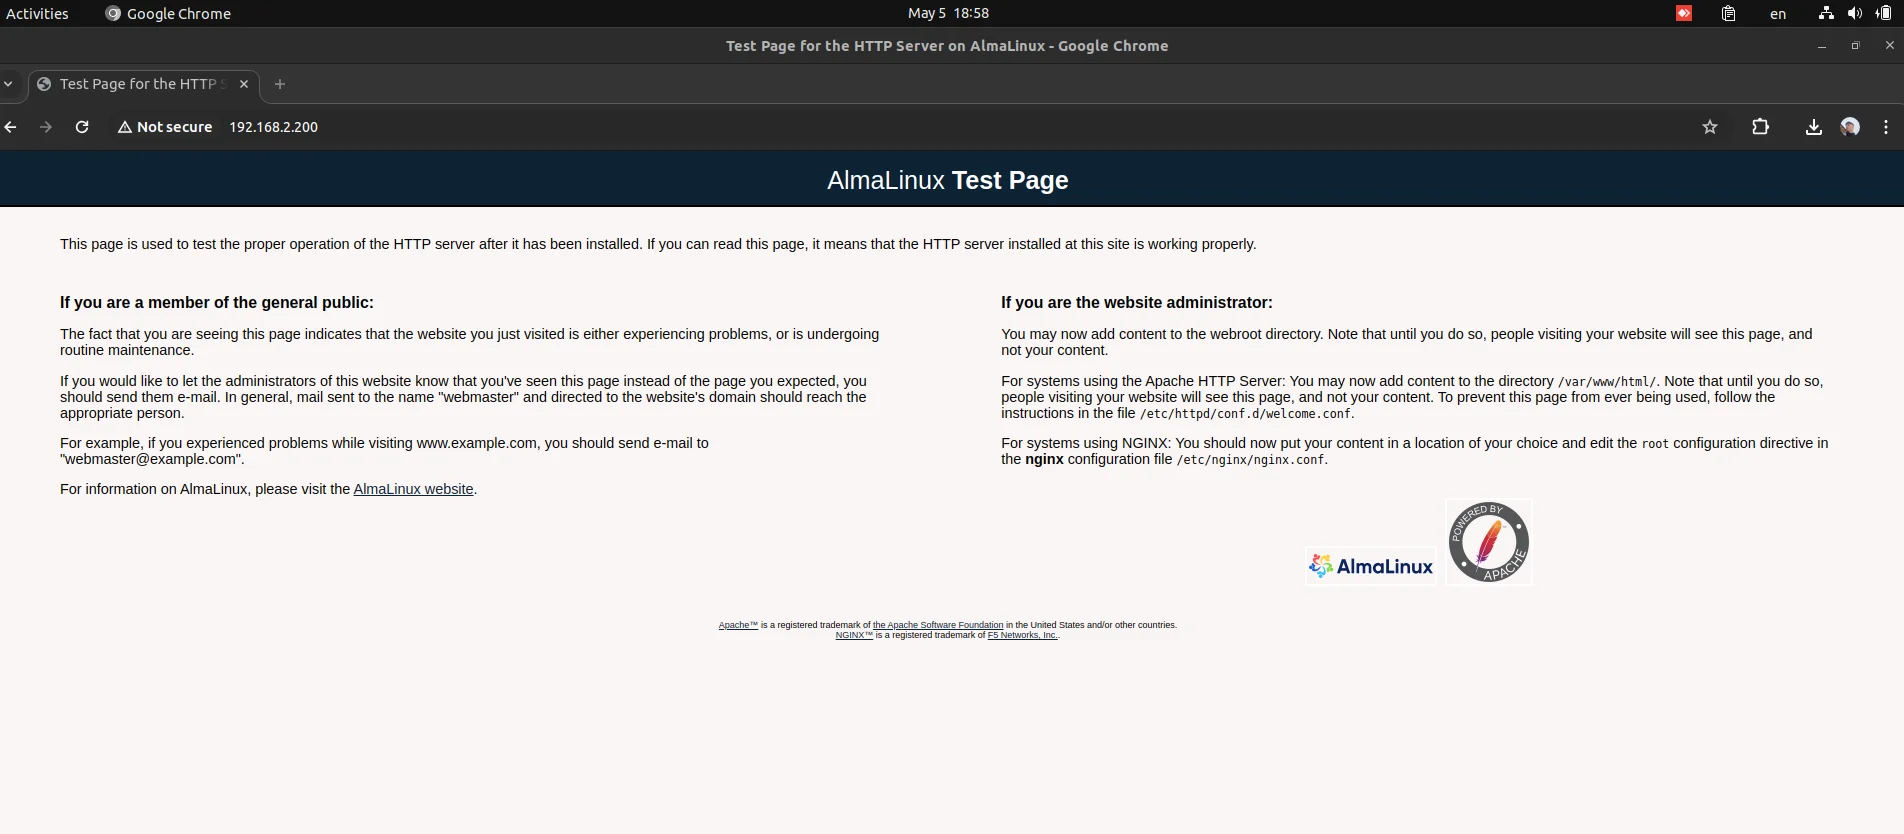
You can test that Apache runs properly by accessing http://YOUR-IP (YOUR-IP being your ip address), you should get the following page:
# Second step - install MariaDB
MariaDB is one of the major relational databases in the market, built by the developers of MySQL, ensuring to remain open-source, with a large part of the cloud utilizing it for data management purposes.
To use a newer repo of MariaDB (To install a newer version) run the following in your cmd:
cat <<EOF>/etc/yum.repos.d/MariaDB.repo
[mariadb]
name = MariaDB
baseurl = https://rpm.mariadb.org/11.4/rhel/8/x86_64/
module_hotfixes = 1
gpgkey = https://rpm.mariadb.org/RPM-GPG-KEY-MariaDB
gpgcheck = 1
EOF
Then install, enable and start MariaDB:
sudo dnf install -y MariaDB-server
sudo systemctl enable mariadb
sudo systemctl start mariadb
Next, run the mariadb-secure-installation:
mariadb-secure-installationEnter the following input:
Step Input Enter current password for root (enter for none) Press enter Switch to unix_socket authentication [Y/n] Y Change the root password? [Y/n] Y Remove anonymous users? [Y/n] Y Disallow root login remotely? [Y/n] Y Remove test database and access to it? [Y/n] Y Reload privilege tables now? [Y/n] Y
# Third step - install php-fpm
PHP-FPM, or PHP FastCGI Process Manager, is a versatile and efficient PHP processor that separates PHP processes from the web server, enabling better resource management and scalability. It's widely favored by developers for its flexibility and performance, seamlessly integrating with popular web servers like Nginx and Apache (Like in here) to optimize PHP execution across different deployment environments.
Enable remi repos:
sudo dnf install -y https://rpms.remirepo.net/enterprise/remi-release-8.rpmEnable php 8.3:
sudo dnf module enable php:remi-8.3 -yInstall, enable and start php-fpm:
sudo dnf install php-fpm
sudo systemctl enable php-fpm
sudo systemctl start php-fpm
# Optional step - adding a website
Make a user in which the site would belong to and add the needed directories:
useradd almasite
cd /home/almasite/
mkdir logs public_html
Fix the privileges:
chown almasite:almasite logs public_htmlCreate a configuration file in
/etc/httpd/conf.d/named almasite.conf:<VirtualHost *:80> # The domain ServerName almasite.com # The domains alias ServerAlias www.almasite.com # Full path to the website files DocumentRoot /home/almasite/public_html # Full path to the error log file ErrorLog /home/almasite/logs/error.log # A custom log to record requests to the website CustomLog /home/almasite/logs/access.log combined # Apply directives only on a given directory <Directory /home/almasite/public_html> # Enables the server to follow symbolic links within directories Options Indexes FollowSymLinks # Permits the use of .htaccess files to override server configuration settings AllowOverride All # Allow access to the specified directory and its contents to all users Require all granted # Specifies default file for directory access DirectoryIndex index.php </Directory> # Route requests based on patterns ProxyPassMatch ^/(.*\.php(/.*)?)$ fcgi://127.0.0.1:9000/home/almasite/public_html/ </VirtualHost>Notice the comments explaining each directive.
Add a php-fpm pool
cp /etc/php-fpm.d/www.conf /etc/php-fpm.d/almasite.confOpen the newly created file with your preferred text editor and change the following:
- [www] - with the pools name (.e.g almasite)
- user = apache - your user (.i.e almasite)
- group = apache - your group (.i.e almasite)
- listen = /run/php-fpm/www.soc - your listening method, in this case we use port 9000 (listen = 9000)
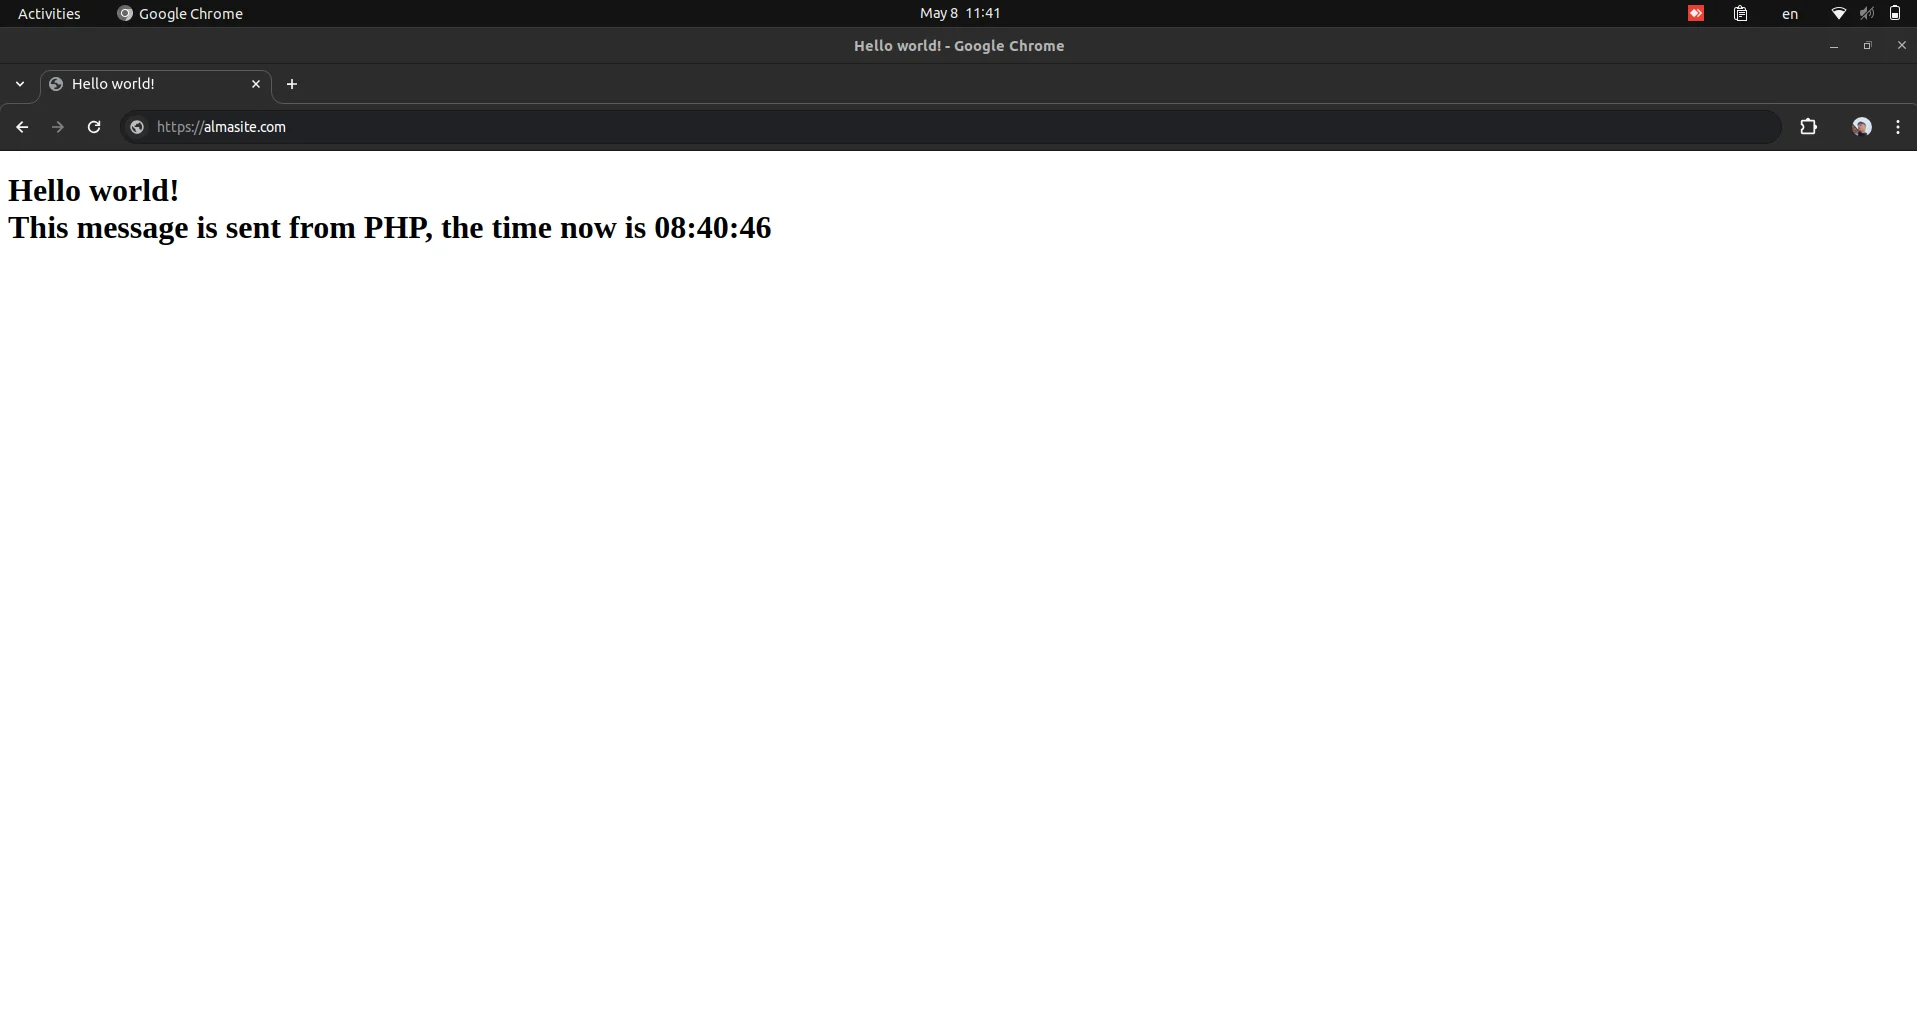
Add the websites files: (or file in this case 😉)
touch /home/almasite/public_html/index.phpOpen your preferred text editor and add the following:
<!DOCTYPE html>
<html>
  <head>
    <title>Hello world!</title>
  </head>
  <body>
    <?php $now = date("H:i:s", time()); echo "
    <h1>
      Hello world!<br />This message is sent from PHP, the time now is $now
    </h1>
    " ?>
  </body>
</html>
Manipulate your hosts file to view your newly created website:
TIP
While I cant tell you your IP address, I can tell you that the domain is almasite.com and the alias is www.almasite.com. (That is if you followed my guide exactly)
YOUR-IP-ADDRESS www.almasite.com almasite.com
Linux:
Edit your hosts file using vim:
sudo vim /etc/hostsThen press
ito enter insert mode and add the following line end of the file:[IP ADDRESS] [DOMAIN]
Windows:
Open Notepad as administrator and open the hosts file:
path: c:\Windows\System32\Drivers\etc\hosts
Add the following line at the end of the file:
[IP ADDRESS] [DOMAIN]And save.
Results:
You should get a similar result: