# Live Media
# About Live Media
Live Media is a way to try AlmaLinux on your computer without installing it to the hard drive. You can run it from a USB or DVD to preview and for system rescue needs. Images support both BIOS and UEFI, including Secure Boot mode.
# Live Media Options
TIP
If you are looking for AlmaLinux OS Kitten images, please, visit the AlmaLinux OS Kitten page.
There are a few AlmaLinux Live Media Options:
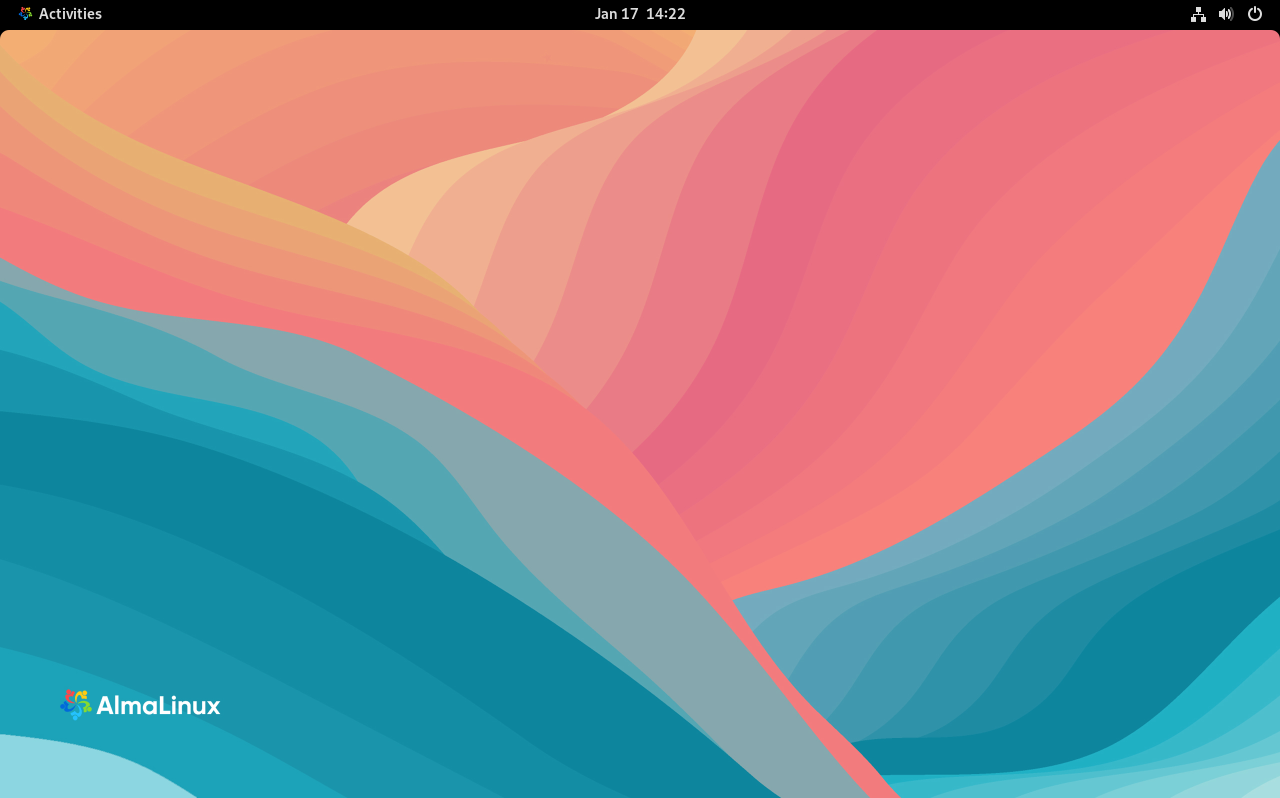
- GNOME Mini: contains a core GNOME environment with Firefox browser
- GNOME: contains a full GNOME environment with popular workstation applications like LibreOffice, Thunderbird and so on.

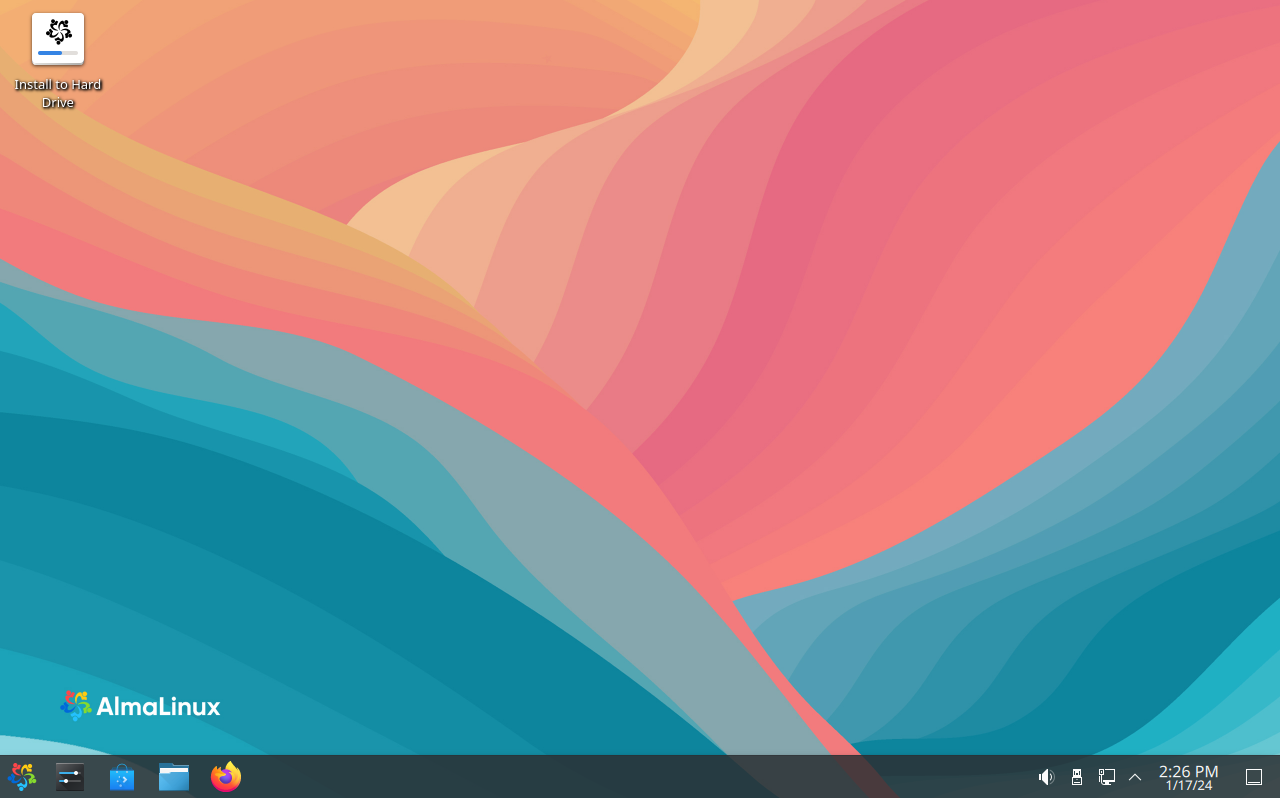
- KDE: contains KDE desktop environment with Firefox browser, Konqueror browser, and applications like LibreOffice, Thunderbird, etc.

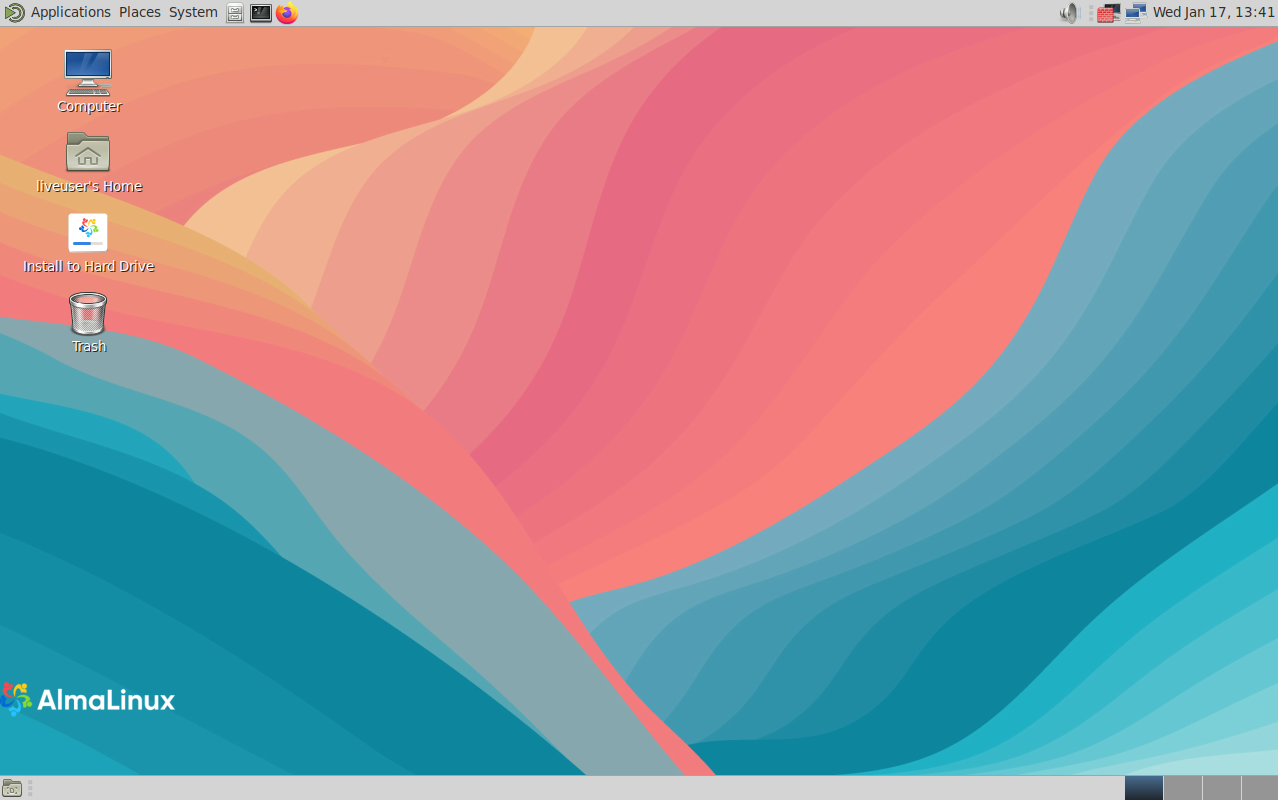
- MATE: contains MATE desktop environment with Firefox browser, LibreOffice and other applications.

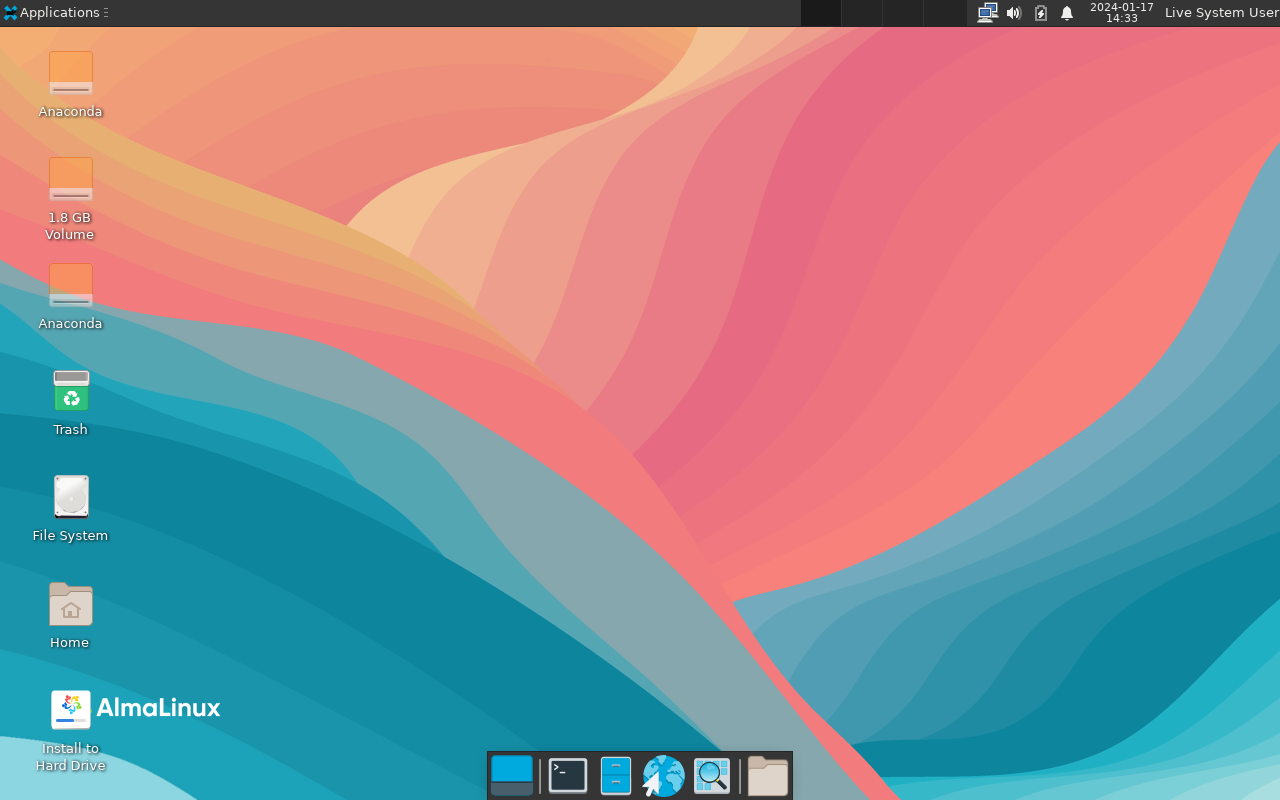
- XFCE: contains XFCE desktop environment with Firefox browser, Thunderbird, LibreOffice, and more applications.

# How to download and write images
The first step is to download an AlmaLinux image:
| AlmaLinux 8 | x86_64 (opens new window) | ||
| AlmaLinux 9 | x86_64 (opens new window) | aarch64 (opens new window) | |
| AlmaLinux 10 | x86_64 (opens new window) | x86_64_v2 (opens new window) | aarch64 (opens new window) |
Then it all depends on what OS you use.
Linux:
It is simple to use the dd command for any Linux OS.
Insert your target USB and locate it. There are different ways to do it but here are some of them:
sudo fdisk -l- this command shows you the connected block storage devices, including the USB devices.lsblk- this command gives you all the available block storage devices, including the USB block storage devices.sudo blkid- this command gives you the same information aslsblk, but you have to run it as root.
You need to look for /dev/sda or /dev/sdb or /dev/sdc, which is your target USB.
After you found out the location of your target USB, navigate to the location of your source ISO. Run dd command to copy files from ISO to USB:
sudo dd if=/AlmaLinux-8-x86_64-Live-GNOME-Mini-beta-1.iso of=/dev/sdc status=progress
dd: Start the dd command to write DVD/CD iso image.
if=AlmaLinux-8-x86_64-Live-GNOME-Mini-beta-1.iso: path to the input file.
of=/dev/sdc : path to destination USB disk/stick.
status=progress: display a progress bar while writing the image to the USB stick such as /dev/sdb.
That’s all! You now have ready Live AlmaLinux on a USB stick.
WARNING
This example is for AlmaLinux 8. Don't forget to replace 8 version with 9 to work with AlmaLinux 9 image.
Windows:
For Windows OS there is a helpful free and open-source application - Rufus (opens new window).
Open the application, choose your target USB, ISO you need to burn, press start - and Live OS is ready to run.
macOS:
The cross-platform tool Fedora Media Writer (opens new window) is used to write images on macOS. It is simple too. Open Fedora Media Writer, select the AlmaLinux ISO, choose the correct options, then write the image.
More details and information about AlmaLinux Live Media can be found on Live Media SIG (opens new window).
